Github와 연동하여 Jekyll 프로젝트 호스팅하기
Jekyll과 Github를 연동하면 자신의 프로젝트 페이지나 블로그, 웹사이트를 무료로 GitHub에 호스팅을 할 수 있습니다.
이번 글에서는 지난번에 생성한 로컬의 Jekyll 프로젝트를 Github를 이용하여 호스팅하는 것까지 알려드리겠습니다.
아래 설명 중 Command Console은 대부분 Git Bash를 설치하여 진행했으며
$ .. 부분의 명령어를 실행하여 진행해주시면 됩니다.
1. github 가입 (https://github.com/)

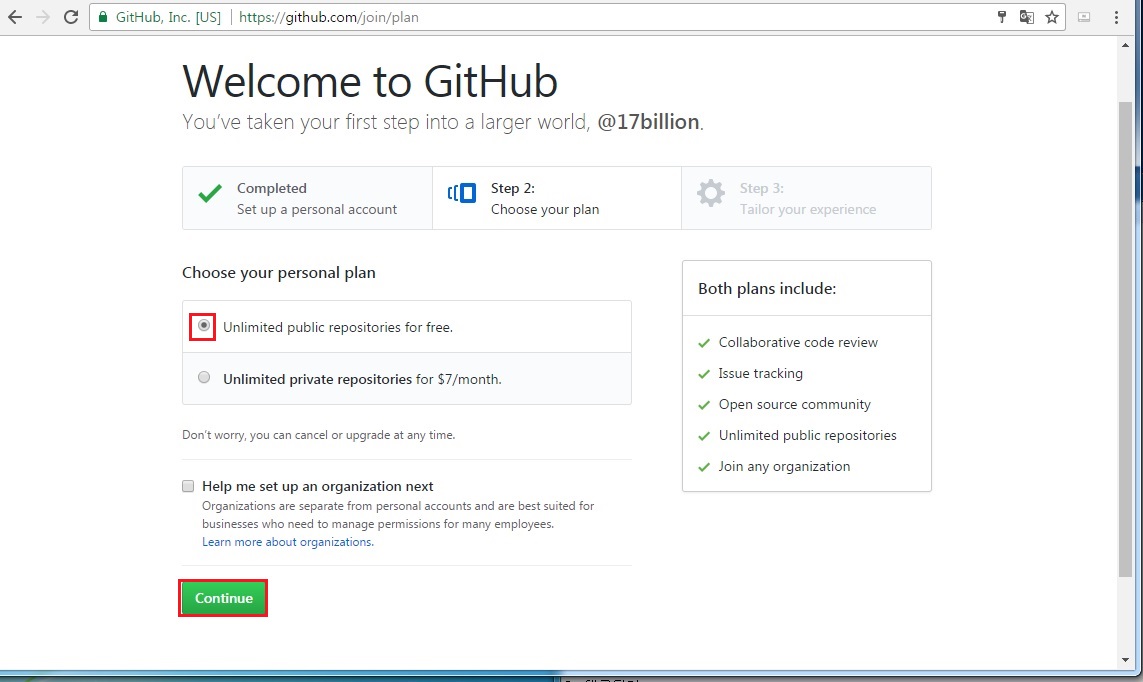
1-2. public repository 선택 후 Continue 클릭 (private repository는 유로)
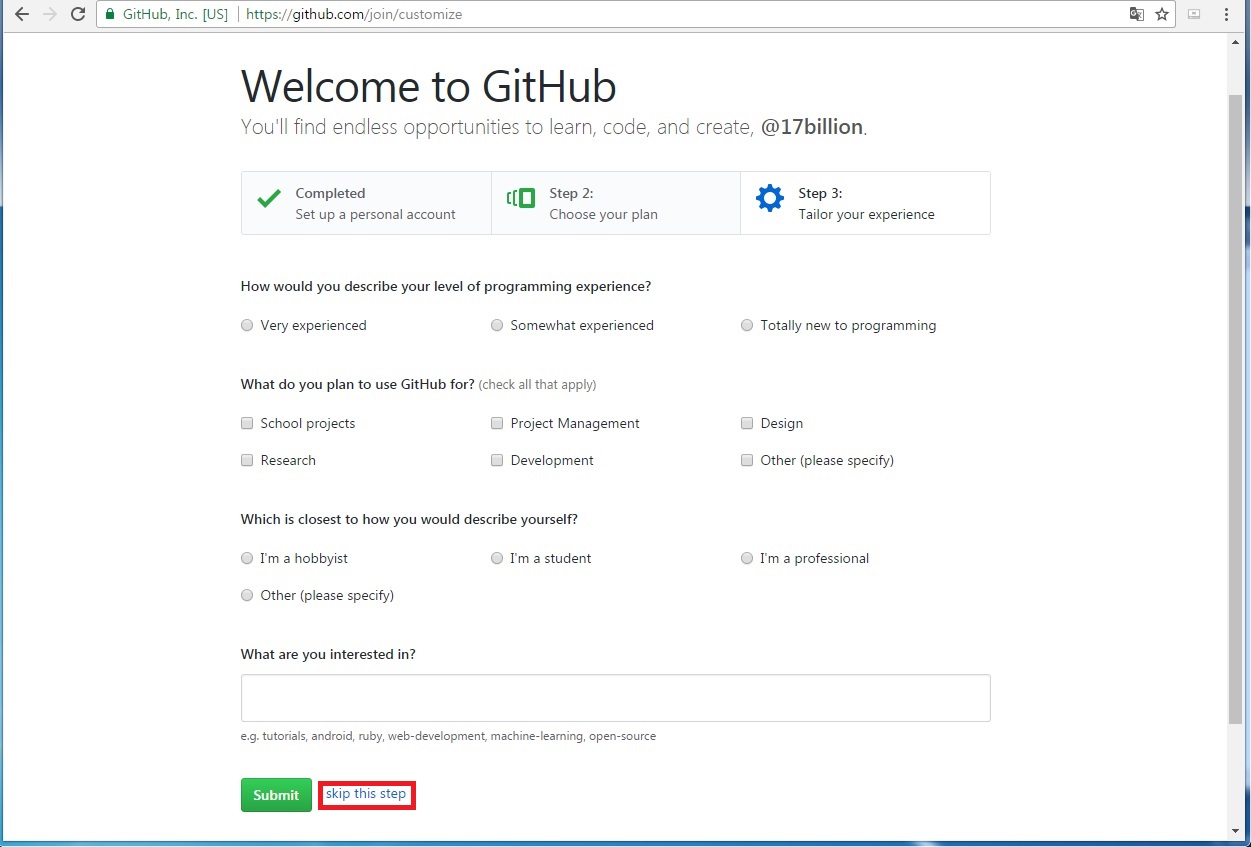
1-3. 사용자 정보 기입 (기입을 원하지 않을 경우 아래 skip the step 클릭)
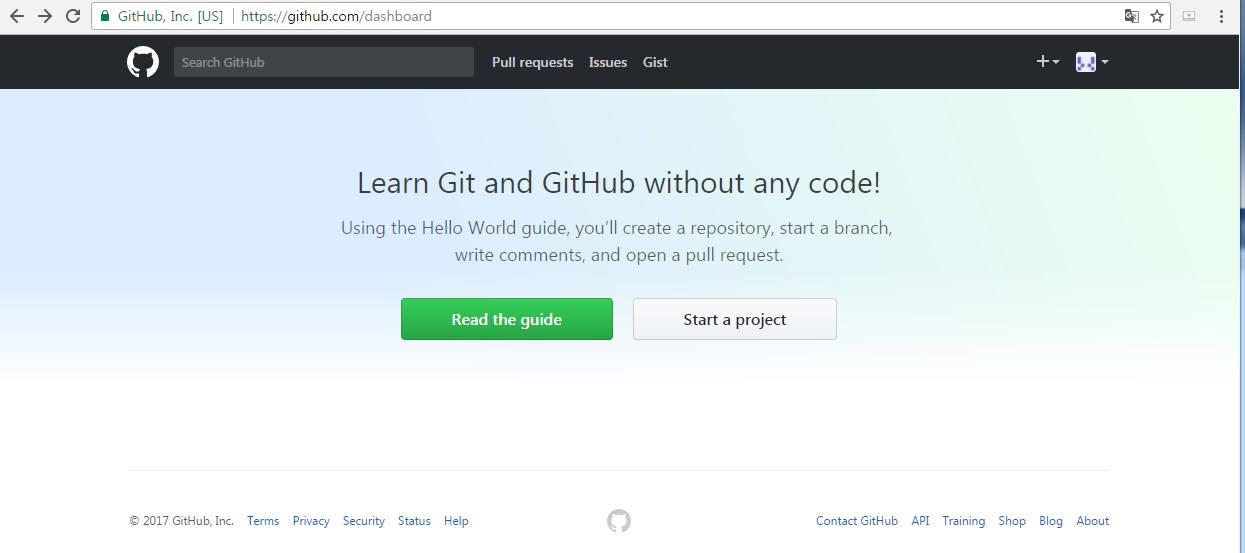
1-4. 가입 완료
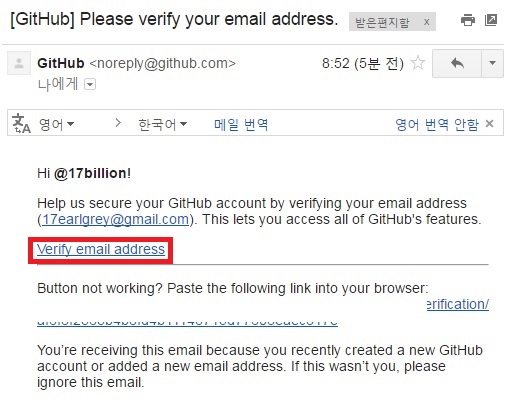
1-5. 가입할때 입력한 E-mail에 로그인하여 인증 (Verify email address 클릭)
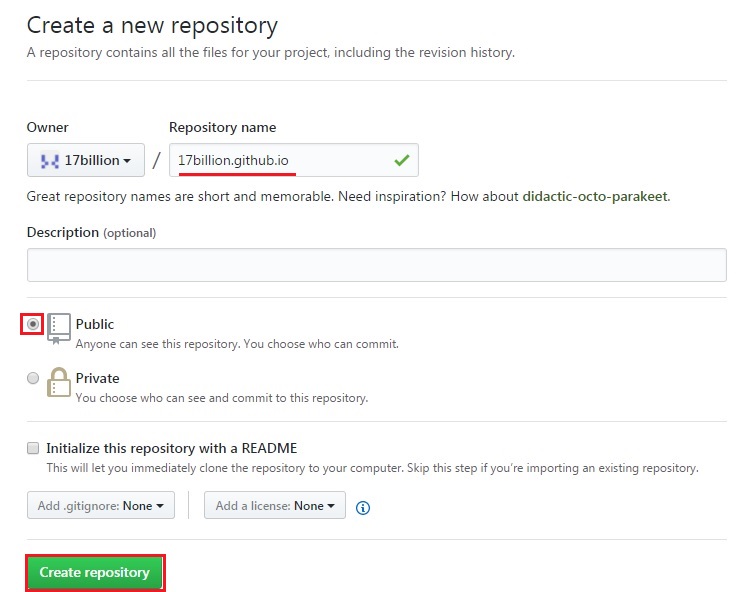
2. repository 생성
repository name을 원하는 name.github.io으로 입력 후 Create repository 클릭 (private는 유료)
3. 로컬에 있는 Jekyll 프로젝트를 생성한 github repository로 commit 후 push
중간에 인증을 위해 로그인 화면이 나타나는데 가입한 정보로 로그인해주면 됩니다.
저는 Jekyll 프로젝트를 Jekyll_site/17billion에 생성했었습니다. 아래 과정은 각자 생성한 프로젝트 경로에서 진행해주시면 됩니다. 아래 과정중에 $ git init / $ git remote add origin https://github.com/17billion/17billion.github.io.git / $ echo “# 17billion” » README.md 부분은 최초일때만 진행해하시면 되고 그 이후 업데이트 시에는 github add/commit/push만 진행해주시면 됩니다.
$ cd /c/Jekyll_site/17billion
$ git initInitialized empty Git repository in C:/Jekyll_site/17billion/.git/$ git remote add origin https://github.com/17billion/17billion.github.io.git
$ echo “# 17billion” » README.md
$ git add .
$ git commit -m “first commit”[master (root-commit) 528fa52] first commit 8 files changed, 174 insertions(+) create mode 100644 .gitignore create mode 100644 Gemfile create mode 100644 Gemfile.lock create mode 100644 README.md create mode 100644 _config.yml create mode 100644 _posts/2017-05-03-welcome-to-Jekyll.markdown create mode 100644 about.md create mode 100644 index.md
$ git push -u origin master
Counting objects: 79, done.
Delta compression using up to 4 threads.
Compressing objects: 100% (62/62), done.
Writing objects: 100% (79/79), 1.70 MiB | 252.00 KiB/s, done.
Total 79 (delta 7), reused 0 (delta 0)
remote: Resolving deltas: 100% (7/7), done.
Branch master set up to track remote branch master from origin.
To https://github.com/17billion/17billion.github.io.git
 * [new branch]      master -> master
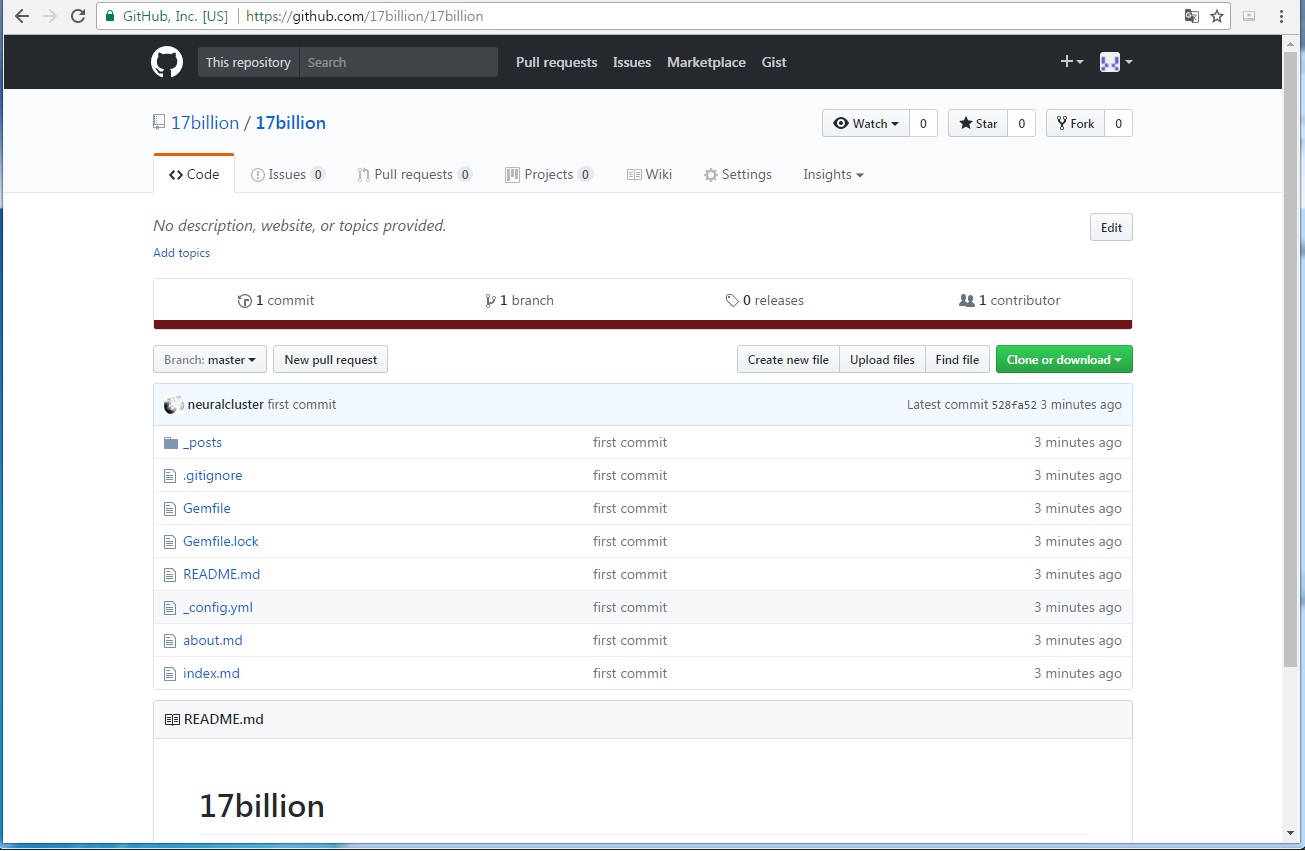
3. push 된 Jekyll 프로젝트 확인
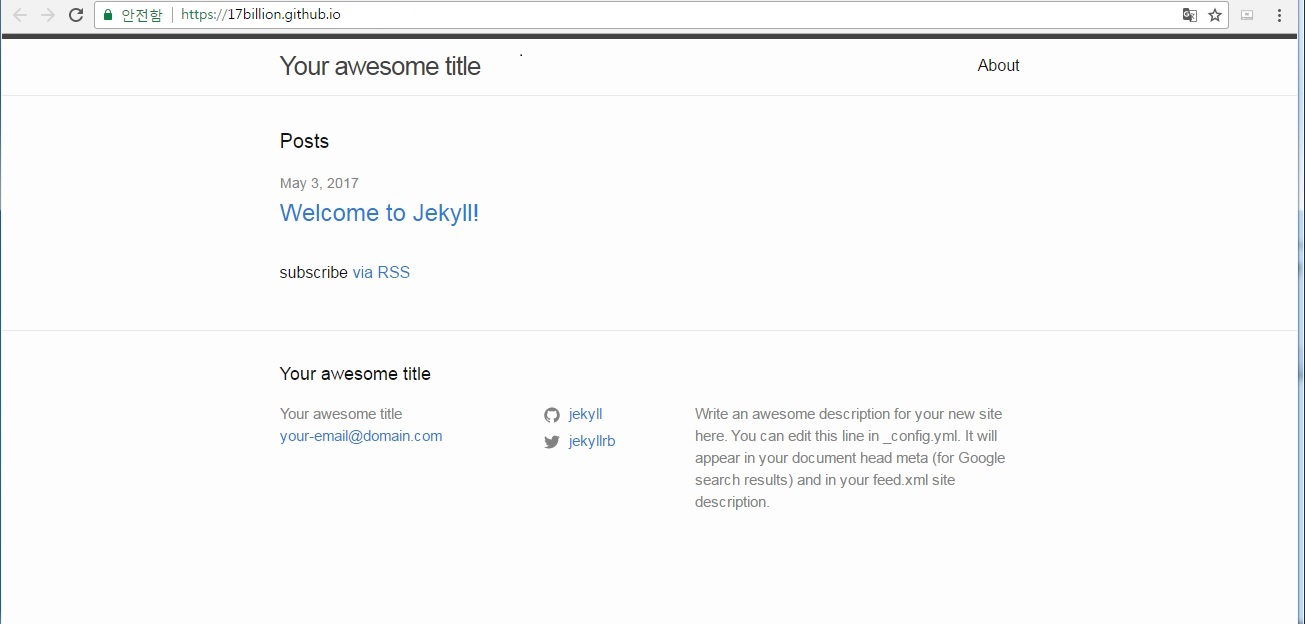
4. 호스팅된 주소로 접속확인 (https://{Repository Name}.github.io/)
