Jekyll 설치 및 로컬에 띄우기
Jekyll은 원본 텍스트 파일을 Markdown 등의 변환기와 Liquid 렌더러를 통해 가공하여 웹 서버에 게시할 수 있는 정적 웹사이트 개설을 가능하게 만듭니다.
Jekyll을 이용해서 자신의 프로젝트 페이지나 블로그, 웹사이트를 무료로 GitHub에 호스팅을 할 수 있습니다. 이번 글에서는 Jekyll을 로컬 PC에 설치 후 로컬서버에 띄우는 것 까지 진행해보겠습니다.
아래 설명 중 Command Console은 대부분 Git Bash를 설치하여 진행했으며
$ .. 부분의 명령어를 실행하여 진행해주시면 됩니다.
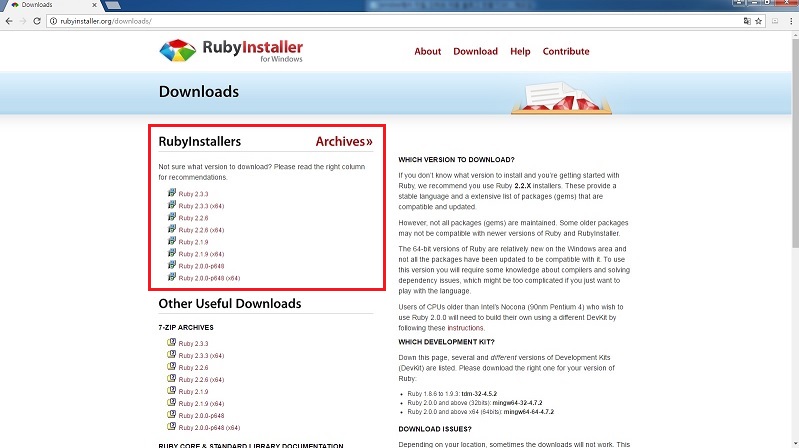
1. ruby 설치 (https://rubyinstaller.org/downloads/)
jekyll은 ruby 기반으로 돌아가기때문에 설치가 필요합니다. RubyInstallers에서 자신의 사양에 맞게 다운로드 하시면 됩니다.
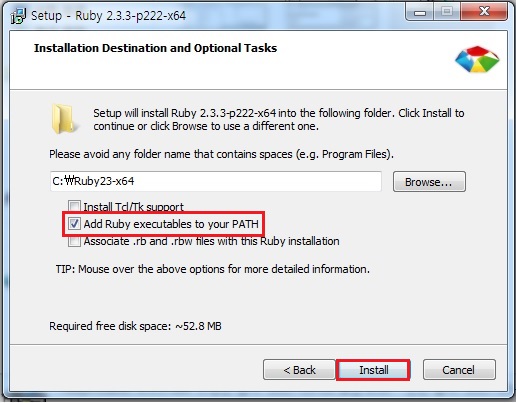
1-2. 설치폴더 설정
다운로드 받은 파일을 실행시키면 아래와 같은 화면이 나옵니다. 설치폴더를 설정 및 체크박스 체크 후 Install 버튼을 클릭합니다. 아래 Add Ruby executables to your PATH를 체크하면 어디서든디 Ruby 실행이 가능합니다.
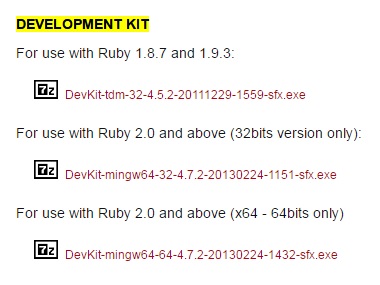
2. Development Kit 설치 (https://rubyinstaller.org/downloads/)
Ruby를 다운 받았던 웹 페이지를 다시 접속해서 Development Kit을 다운 받은 후 실행을 시켜주시면 됩니다. (C:\RubyDevkit)
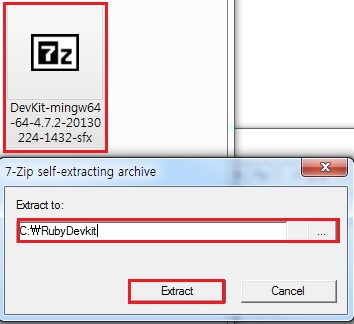
2-2. Development Kit 초기화 (Git Bash)
$ cd C:\RubyDevkit
$ ruby dk.rb init[INFO] found RubyInstaller v2.3.3 at C:/Ruby23-x64 Initialization complete! Please review and modify the auto-generated 'config.yml' file to ensure it contains the root directories to all of the installed Rubies you want enhanced by the DevKit.$ ruby dk.rb instal
[INFO] Skipping existing gem override for 'C:/Ruby23-x64'
[INFO] Installing 'C:/Ruby23-x64/lib/ruby/site_ruby/devkit.rb'
3. Jekyll 설치 (Git Bash)
$ cd C:\RubyDevkit
$ gem install jekyllSuccessfully installed jekyll-3.4.3 Parsing documentation for jekyll-3.4.3 Done installing documentation for jekyll after 2 seconds 1 gem installed$ gem install rouge
Successfully installed rouge-2.0.7
Parsing documentation for rouge-2.0.7
Done installing documentation for rouge after 5 seconds
1 gem installed
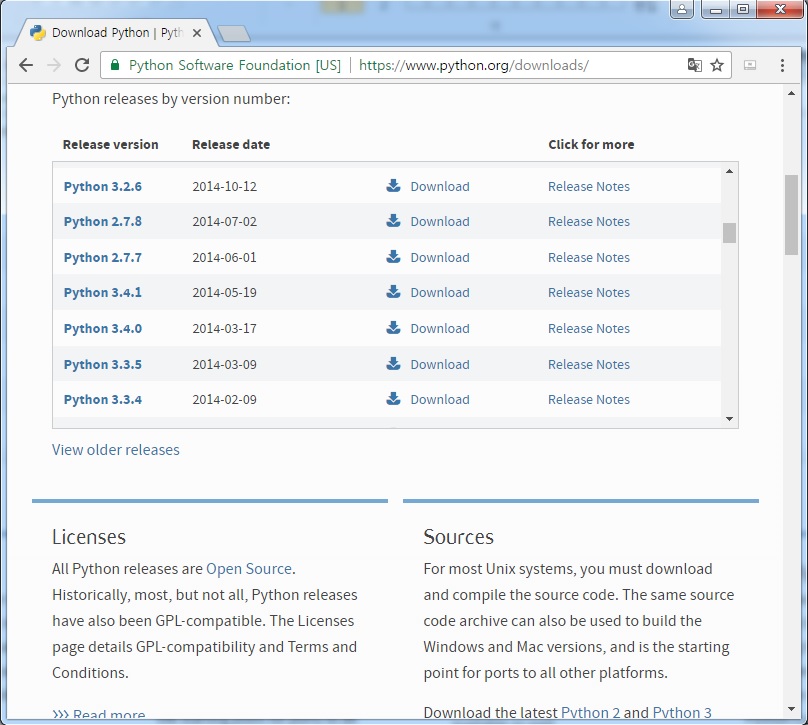
4. Python 다운로드 및 실행 (https://python.org/downloads/)
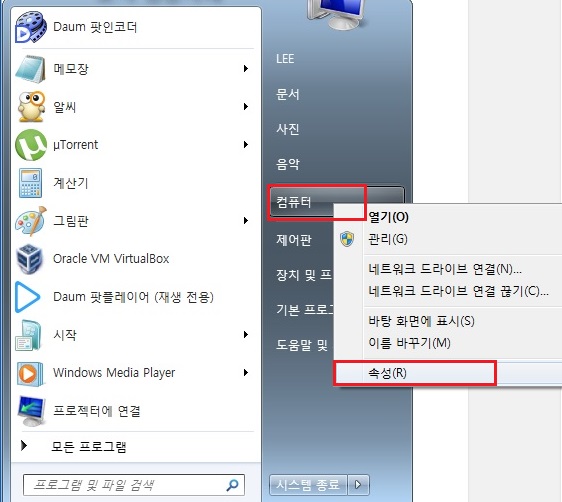
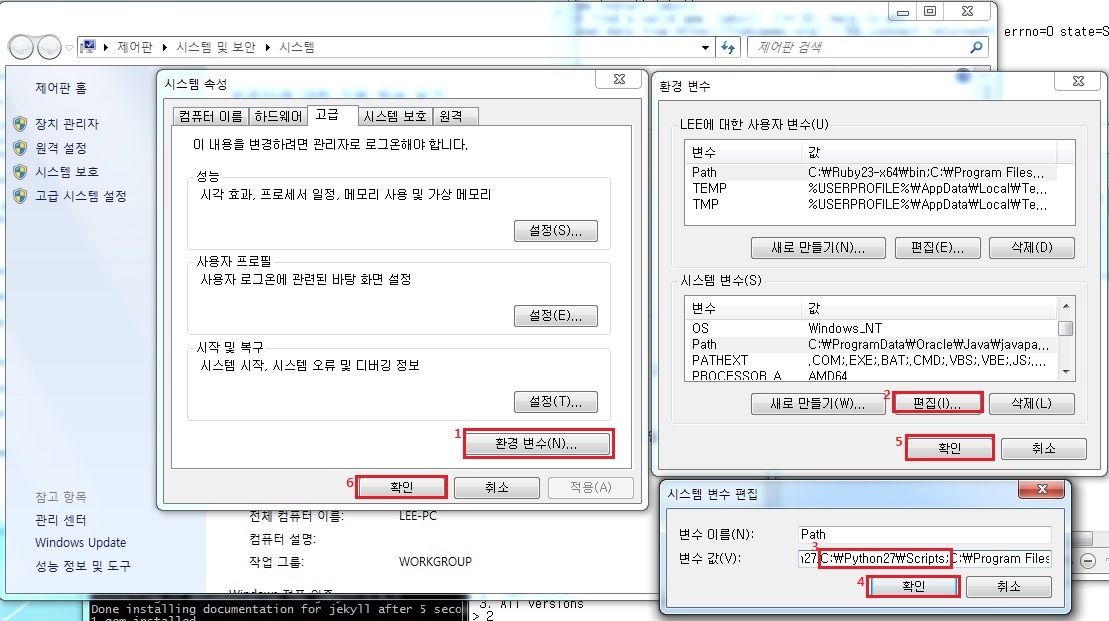
4-2. Python 윈도우 환경설정
환경변수에 C:\Python27;C:\Python27\Scripts;를 추가해주시면 됩니다.
5. highlighter 사용을 위한 Pygments 설치 (Window cmd)
저는 git bash에서 설치가 안되어 Window cmd에서 Pygments 설치를 진행했습니다.
C:\Users\LEE>pip install Pygments
Collecting Pygments
  Using cached Pygments-2.2.0-py2.py3-none-any.whl
Installing collected packages: Pygments
Successfully installed Pygments-2.2.0
6. Jekyll 생성 및 실행
$ mkdir C:\jekyll_site
$ cd jekyll_site/
$ jekyll
A subcommand is required.
jekyll 3.4.3 -- Jekyll is a blog-aware, static site generator in Ruby

Usage:

  jekyll <subcommand> [options]

Options:
        -s, --source [DIR]  Source directory (defaults to ./)
        -d, --destination [DIR]  Destination directory (defaults to ./_site)
            --safe         Safe mode (defaults to false)
        -p, --plugins PLUGINS_DIR1[,PLUGINS_DIR2[,...]]  Plugins directory (defaults to ./_plugins)
            --layouts DIR  Layouts directory (defaults to ./_layouts)
            --profile      Generate a Liquid rendering profile
        -h, --help         Show this message
        -v, --version      Print the name and version
        -t, --trace        Show the full backtrace when an error occurs

Subcommands:
  docs
  import
  build, b              Build your site
  clean                 Clean the site (removes site output and metadata file) without building.
  doctor, hyde          Search site and print specific deprecation warnings
  help                  Show the help message, optionally for a given subcommand.
  new                   Creates a new Jekyll site scaffold in PATH
  new-theme             Creates a new Jekyll theme scaffold
  serve, server, s      Serve your site locally
7. Jekyll 로컬에 띄우기
$ cd C:\jekyll_site
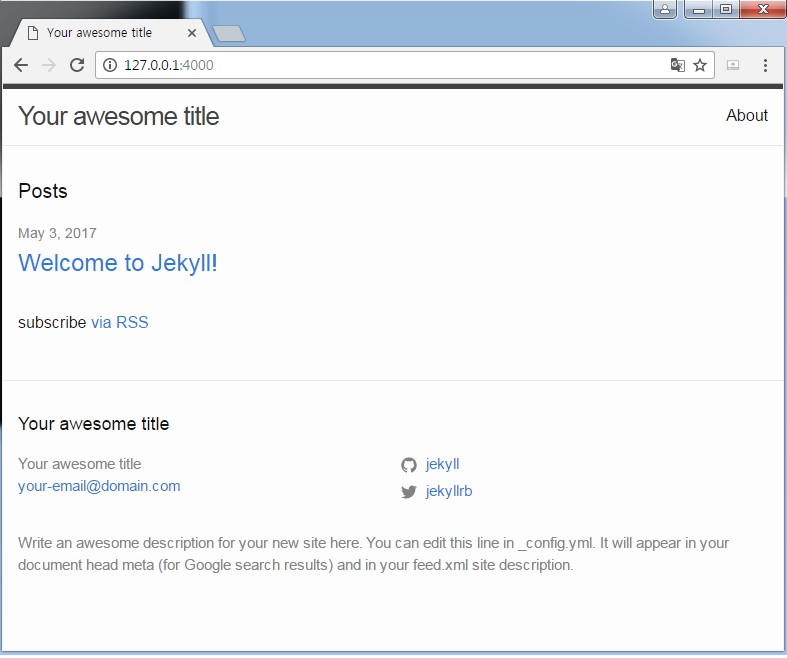
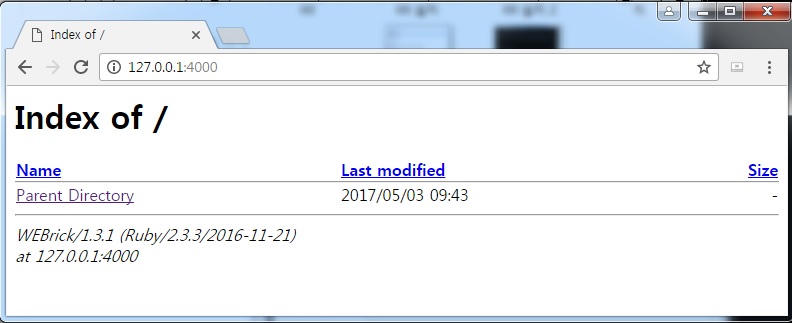
$ jekyll serve모든 과정이 진행되었으면 아래처럼 결과가 나옵니다.
Configuration file: none
Configuration file: none
            Source: C:/jekyll_site
       Destination: C:/jekyll_site/_site
 Incremental build: disabled. Enable with --incremental
      Generating...
                    done in 0.025 seconds.
  Please add the following to your Gemfile to avoid polling for changes:
    gem 'wdm', '>= 0.1.0' if Gem.win_platform?
 Auto-regeneration: enabled for 'C:/jekyll_site'
Configuration file: none
    Server address: http://127.0.0.1:4000/
  Server running... press ctrl-c to stop.
http://127.0.0.1:4000/ 접속 하면 아래와 같은 화면이 나옵니다.
8. Jekyll 개인 프로젝트 생성 및 로컬에 띄우기
제 프로젝트 명은 17billion로 했습니다. 이 부분은 편의에 맞게 변경하시면 됩니다.
$ cd C:\jekyll_site
$ jekyll new 17billionRunning bundle install in C:/jekyll_site/17billion... Bundler: Fetching gem metadata from https://rubygems.org/............ Bundler: Fetching version metadata from https://rubygems.org/... Bundler: Fetching dependency metadata from https://rubygems.org/.. Bundler: Resolving dependencies... Bundler: Using public_suffix 2.0.5 Bundler: Using colorator 1.1.0 Bundler: Using ffi 1.9.18 (x64-mingw32) Bundler: Using forwardable-extended 2.6.0 Bundler: Using sass 3.4.23 Bundler: Using rb-fsevent 0.9.8 Bundler: Using kramdown 1.13.2 Bundler: Using liquid 3.0.6 Bundler: Using mercenary 0.3.6 Bundler: Using rouge 1.11.1 Bundler: Using safe_yaml 1.0.4 Bundler: Using thread_safe 0.3.6 Bundler: Using bundler 1.14.3 Bundler: Using addressable 2.5.1 Bundler: Using rb-inotify 0.9.8 Bundler: Using pathutil 0.14.0 Bundler: Using jekyll-sass-converter 1.5.0 Bundler: Using tzinfo 1.2.3 Bundler: Using listen 3.0.8 Bundler: Using tzinfo-data 1.2017.2 Bundler: Using jekyll-watch 1.5.0 Bundler: Using jekyll 3.4.3 Bundler: Using jekyll-feed 0.9.2 Bundler: Using minima 2.1.1 Bundler: Bundle complete! 4 Gemfile dependencies, 24 gems now installed. Bundler: Use `bundle show [gemname]` to see where a bundled gem is installed. New jekyll site installed in C:/jekyll_site/17billion.$ ls
_site/ 17billion/$ cd 17billion/
$ jekyll serveConfiguration file: C:/jekyll_site/17billion/_config.yml Configuration file: C:/jekyll_site/17billion/_config.yml Source: C:/jekyll_site/17billion Destination: C:/jekyll_site/17billion/_site Incremental build: disabled. Enable with --incremental Generating... done in 0.881 seconds. Please add the following to your Gemfile to avoid polling for changes: gem 'wdm', '>= 0.1.0' if Gem.win_platform? Auto-regeneration: enabled for 'C:/jekyll_site/17billion' Configuration file: C:/jekyll_site/17billion/_config.yml Server address: http://127.0.0.1:4000/ Server running... press ctrl-c to stop.위 과정을 진행 후 다시 http://127.0.0.1:4000/ 접속 하면 아래와 같이 생성한 Jekyll 화면이 나옵니다.